Monday, June 30, 2014

PCB UV Exposure Box

One of the coolest stuff that I made was the PCB UV exposure box. Over the years I've been using my table lamp as the light source to expose my presensitized PCBs. There have been failures and successes using the table lamp. Quite a number of incidents of over exposing and will have to redo. And is quite expensive to buy a presensitized board here. So, last year I decided to build one and never to face these problems again.

My old method using the table lamp to expose the PCB
My homemade PCB UV Exposure Box
The box is made out of MDF (medium density fibreboard) board recycled from a packing box. The piece of glass was from a picture frame I bought from a RM2 shop in Taiping. The rest of the items such as UV lamps and electronic ballasts were bought from a local electrical store, Thye Huat. Below are some more photos and please visit my Instructables website for the steps-by-step instructions and the materials I used.

UV lamps
Reused MDF boards that cut into sizes
Completed box with the cover
Here is the result

Thursday, June 26, 2014

One man's trash is another man's treasure

Guess what I found at the recycle collection area at my apartment just now. I was searching for a used oven since a year ago. Believe it or not, is still working perfectly. Guess what I'm planning to do with this oven?


To bake cake...Nope. But if you guess as a reflow oven...you're right! What is a reflow oven? Generally is an oven for reflow soldering of electronic components onto the printed circuit board (PCB). It will be useful for producing a lot of PCBs with SMT components.

Some modifications will be required before I can use as a reflow oven. I will build a controller board that will measure the temperature and control the heating element following a predefined profile temperature. Another exciting project coming up!


Proposed basic block diagram of the controller for reflow oven

Monday, June 16, 2014

My Little Humble Workspace

Some people spend most of their time in front of the TV or shopping or sleeping especially during the weekends. I spend my most of my time here, my little humble workspace. This room is not a dedicated workshop at somewhere else but is in my house. Yes, my little apartment where I'm staying with my wife and soon with my kids. We have 3 rooms and I transformed the third room into a workspace or so call personal office. My wife and I share this room for office work, building my projects, jamming and relaxing.

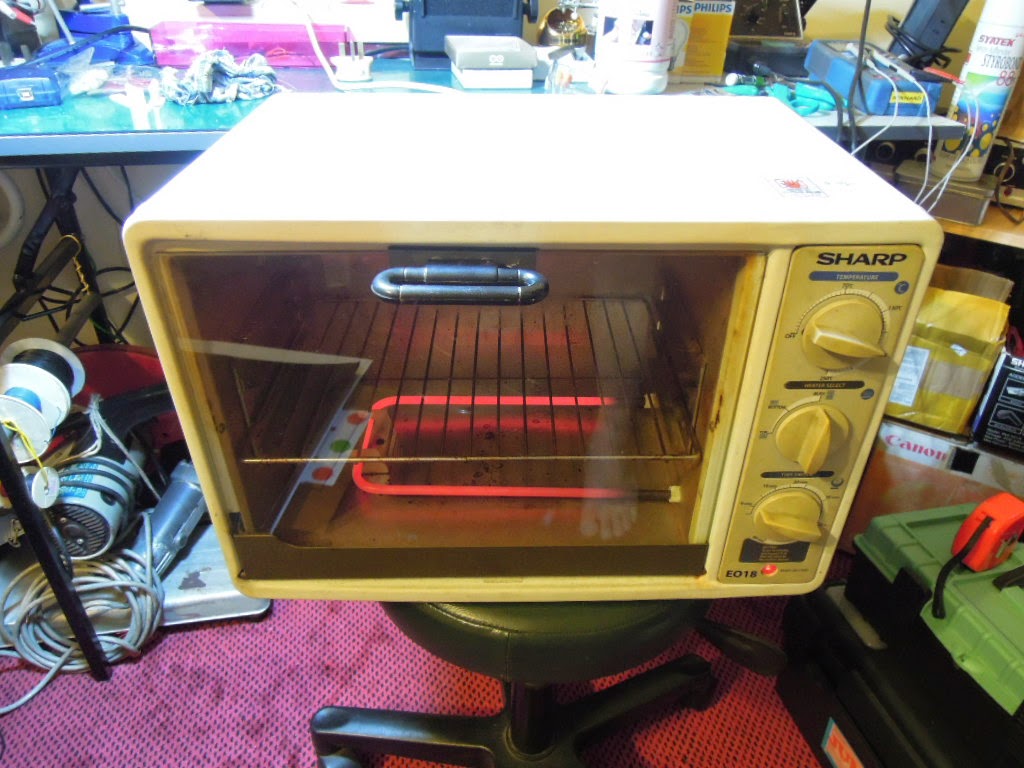
Half of the room is my workspace. From the pictures below, starting from the left side of the room are my bench top drill, the new 3D printer, component racks, worktable equipped with soldering station, multimeter, homemade power supply and hand tools. The right side corner of the room is the repository area. Below the table I have a old cut off saw and angle grinder which my father gave it to me. Recently I just bought a foldable workbench where I'm using it for woodworking outside my house, a wood router, palm sander and a cordless drill. You can see my homemade PCB UV box at the top of the rack in the third photo.


ATTiny13 with Arduino IDE

Some projects that I'm working do not require more than three I/O pins. Arduino UNO and even the Arduino MINI are little more than I need. I need less than 5 I/O pins, using internal clock, small, cheap and easy to program > Arduino IDE. So, I found the ATTIny13 and this website provides the step-by-step instructions how to program the ATTiny13 using Arduino's IDE with AVRISP MKII. 


I used the smeezekitty's core13 library. But I used the core13_018 version and no luck with the latest core13_18_5. Not sure why the latest version doesn't work on my PC. Anyway, this will open the door to my many other mini projects that doesn't require a lot of I/Os and cost. Mainly my reason is that I have a handful of surface mount type ATTiny13 lying around from my previous project. 

My first project with ATTiny13 will be for display board running lights. To connect to AC230V incandescent bulbs with speed control and blinking modes. Will use triacs, optoisolators and voltage regulator for this project. Will post up in my blog when is ready.